ChiveOpen Chive
The quick guide

How to use Chive.

Chive turns your grocery list into a pantry that tracks itself, then helps you cook from what you have. This guide walks through the parts you’ll use most. Jump to any section from the bar above.
Start with setupOpen Chive
Chive recipes
Chive
Track
Cook
Shop
Repeat
How Chive works
Track
A pantry built as you shop. Every item from your grocery list lands in the pantry with best-before dates, photos, and nutrition.
Cook
Recipes that know your kitchen. Ask what you can cook tonight, import from anywhere, check against your pantry.
Shop
A list that works for you. Quick-add with Siri, auto-sorted by aisle, price estimates from your store, and send your list to the Instacart® app in one tap.
Repeat
Used up or expired, items come back to your list. Chive flags the staples you’re running low on, so you restock before you run out.

Each step feeds the next, and the more you use it, the more powerful it becomes.

The basics

Getting around, and the one button to know.

Four tabs run along the bottom, with a single round + in the middle. That + is your quick-add, and it changes to match whatever page you're on.

The four tabs: List (what to buy), Pantry (what you have; this is home), Recipes (what to cook), and Settings.
The + button is contextual. On Pantry or List it adds food: snap a photo, scan a barcode or receipt, search for a product, or send something to your grocery list.
Open it on the Recipes tab and the very same + switches to recipe actions instead: import from a link or social post, paste text, scan a cookbook page, or write your own.
So if you can’t find an option you expected, check which tab you’re on first; the menu always matches the page.
Ask Chive floats at the bottom-right on most screens. Tap to type, press and hold to talk.
+Same button, different menu
On Pantry & List, the + offers
Add to Grocery List
Snap Items
Scan code
Search & Add
Scan Receipt
On Recipes, the + offers
Add from social media
Import from web
Paste text
Scan or upload a photo
Write from scratch
Setup

How to set up your kitchen.

The first time you open Chive, a quick wizard gets you started.

1
Pick your region
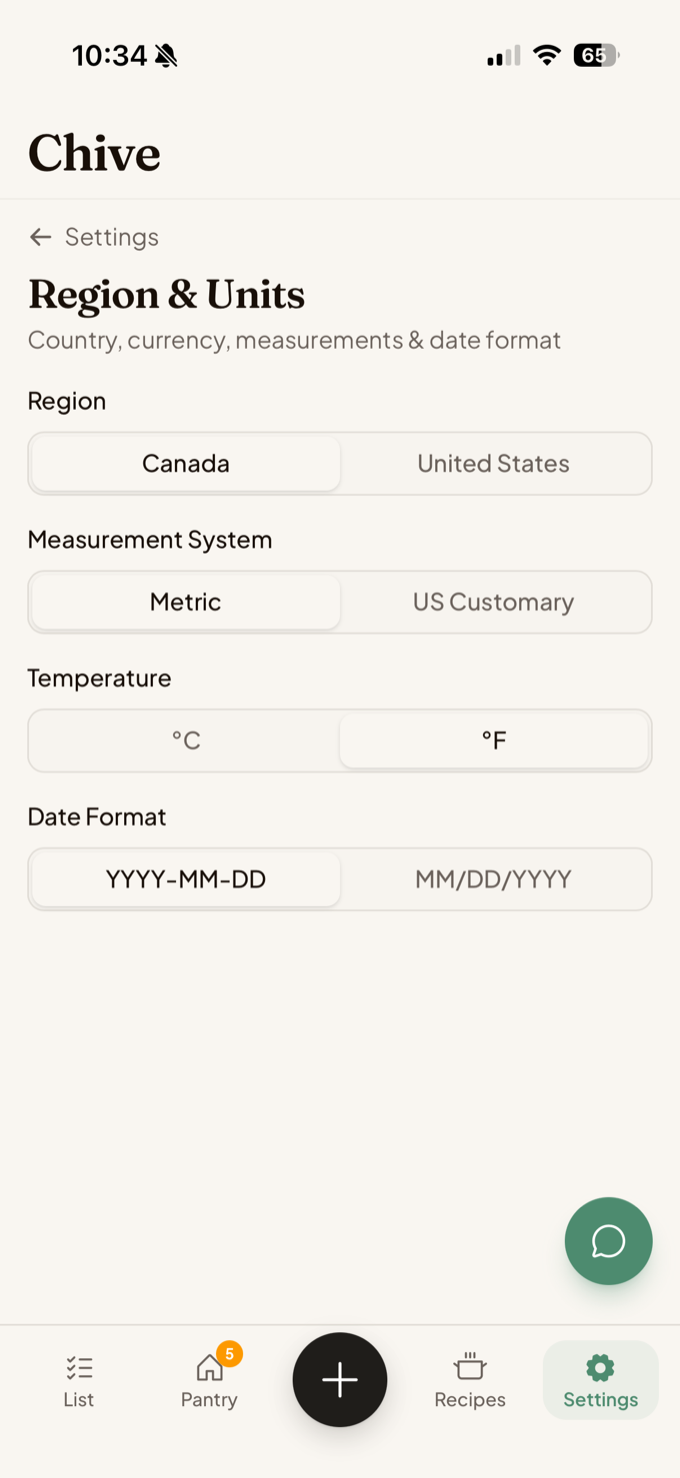
Canada, US, or Australia. Currency, units, and dates all match automatically.
2
Name it and pick your preferred stores
So price estimates and product names are right for where you actually shop.
3
Set up your zones
Zones are your storage spots. Fridge, freezer, pantry, counter, spice rack, bar, and household supplies come ready. Add custom zones for pets or a garage freezer, each with its own icon and colour. You can also choose what kind of items land in each zone from Settings (more on that later).
4
Bring your data (optional)
Already using Paprika, Kitchen Pal, or a spreadsheet? Import it anytime from Settings → Import & Export, or just start fresh.
Grocery list

How to build your grocery list and check out.

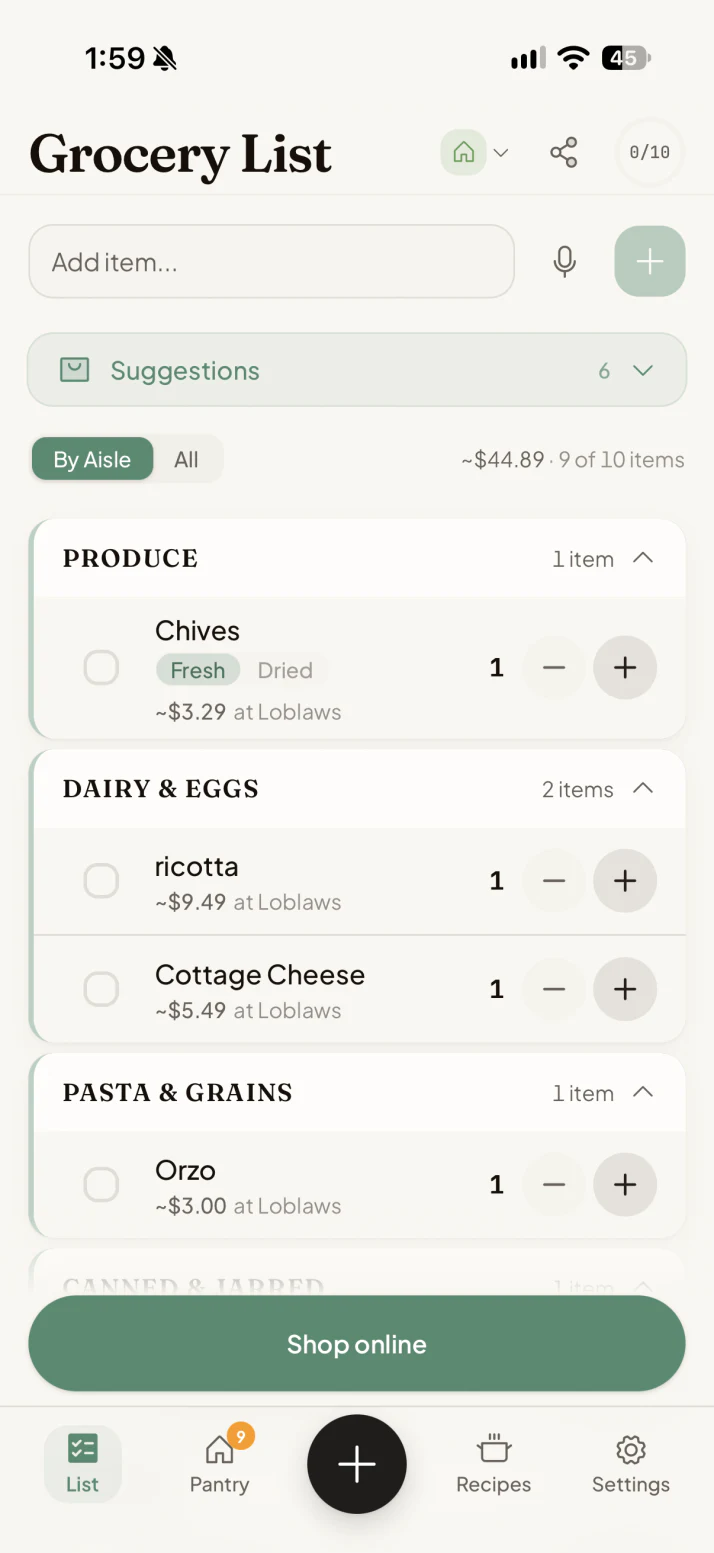
Your list groups itself by aisle and shows price estimates from your stores.

Add to your list. Type in the search bar at the top of the Grocery list, ask Siri hands-free, or use the iOS widget.
Start from Suggestions. Tap the empty search bar and Chive already has a head start: a ready-made list of what you’re likely to need next, predicted from what you’ve used up, how often you rebuy it, and expiry dates. Tap any suggestion to add it before you run out.
Tap an item for more options like select, rename, change quantity, or delete.
Swipe either direction on an item to remove it from your list.
Shopping in person? Tap the checkbox to tick off items as you go, then press Add to Pantry to add the items you bought into your pantry.
Tap Shop on Instacart® any time to send your list to Instacart: your whole list, or just the items you’ve checked. When you come back, Chive asks before moving those items into your pantry.
You can also scan your receipt to capture prices and add things you bought that were not on your list.
Scan a barcode. Tap + on the Grocery list and choose Scan Barcode to check prices at nearby stores, or add the item to your list.Beta
Add the iOS widget to add to your list on the go. On your home screen, long-press, tap +, search Chive, and choose a widget size. It also gives you one-tap shortcuts to scan a barcode or add a photo, plus your pantry stats at a glance.
Add by voice with Siri. On iPhone, turn on Reminders Sync in Settings → Siri & Shortcuts and pick a list name. Then say “Hey Siri, add milk to my Chive list” from your iPhone, Apple Watch, HomePod, or CarPlay — in plain language, no “Chive” needed. Items import into your Chive list (and clear from Reminders) the next time you open the app.
Pantry · adding items

How to add items to your pantry.

The + in the centre of the bottom bar is Chive's universal quick add button.

Search & Add. Type to find or create a product and drop it in your pantry.
Add to grocery list. Send something straight to your list instead.
Scan code. Scan one item, or a whole batch in series by following the prompts. You can also scan partner QR codes to add your food box delivery and recipes to your pantry.
Scan Receipt. Scan a full receipt, with prices captured.
Snap Items. Photograph your counter and Chive identifies everything in the shot.
Forward email receipts. Send store receipt emails to your private Chive address (find it in Settings → Email Receipts) and they show up in your review queue automatically, no scanning required.
Most items land with a suggested best-before date, photo, and nutrition info when available, so there is no manual entry.
On the Recipes tab this same + becomes recipe actions instead; see Basics above.
Pantry · managing

How to manage your pantry.

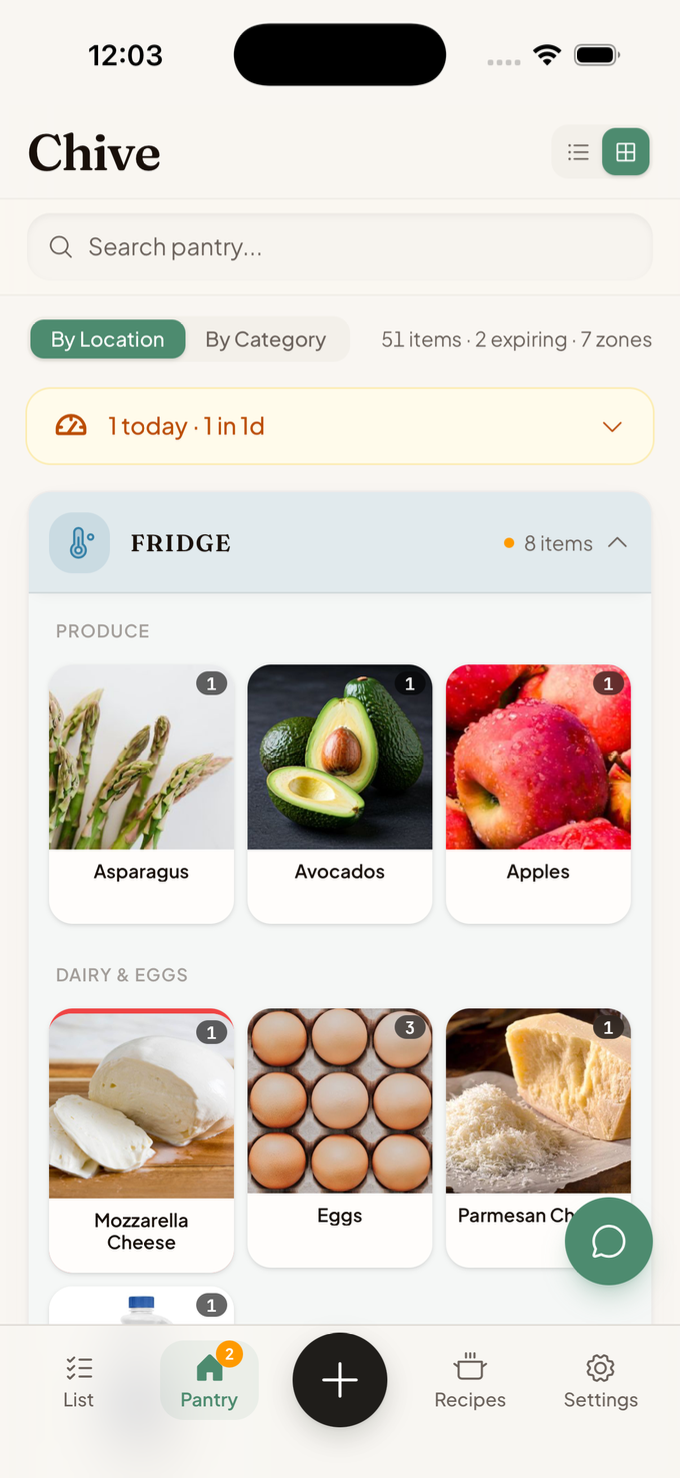
Your pantry is everything you have on hand, sorted into zones.

To update an item, tap it. Quick actions appear: +, −, Low, and Restock. Use + and − as you use things up. Pressing − on the last one marks it empty, with undo.
To see more detail, press and hold. This opens full details including photo, price history, and nutrition.
To manage several at once, tap Select. Bulk-restock or remove multiple items.
To move an item to another zone, press and hold to open its details, then change its Location.
Low means you still have some, but you want it on your grocery list before it runs out.
Restock means it is gone and you want to buy it again. Both add it to your list.
Expiring food

How to stay on top of expiring food.

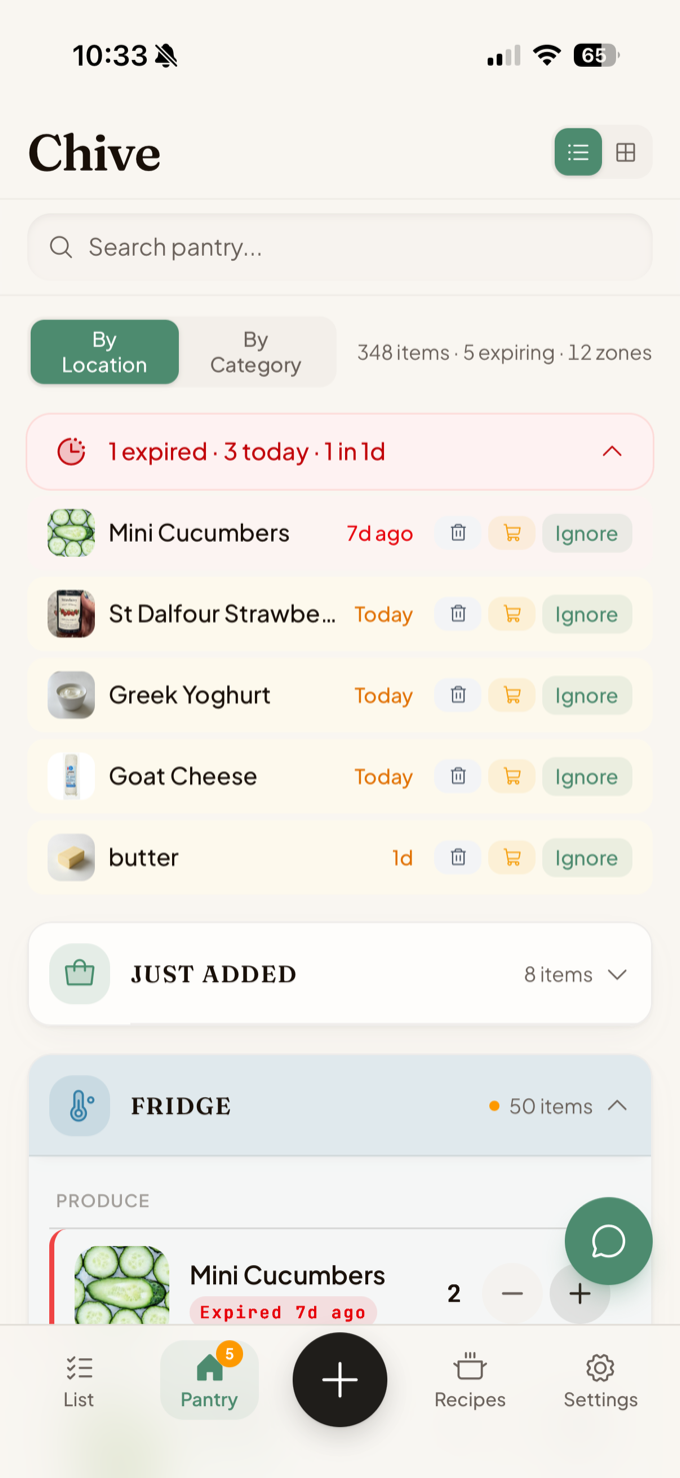
The Expiring banner shows food that needs attention soon. Chive nudges you at the right times so it gets eaten instead of tossed.

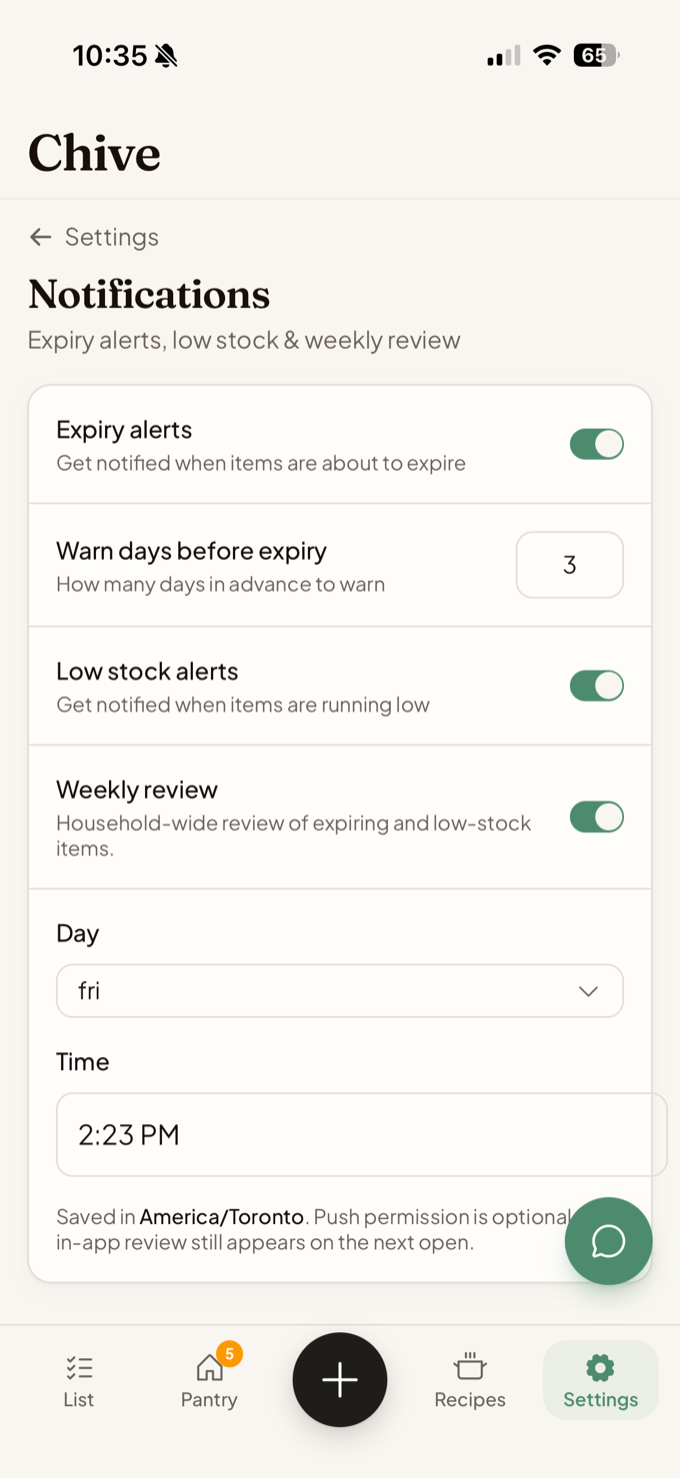
Turn on reminders in Settings → Notifications. You get expiry and low-stock alerts, with your own days of warning.
Act from the banner. Right on the Expiring banner, mark an item kept, used up, or tossed (or add it back to your list) in a tap.
Weekly Review. On by default (Sunday evening); set your own day and time in Settings → Notifications. Swipe through what is expiring as Keep or Used up, and start building next week’s list.
Set your reminders and weekly review
See what’s expiring and act on it
Cook

How to cook from what you have.

Chive connects your pantry to real recipes.

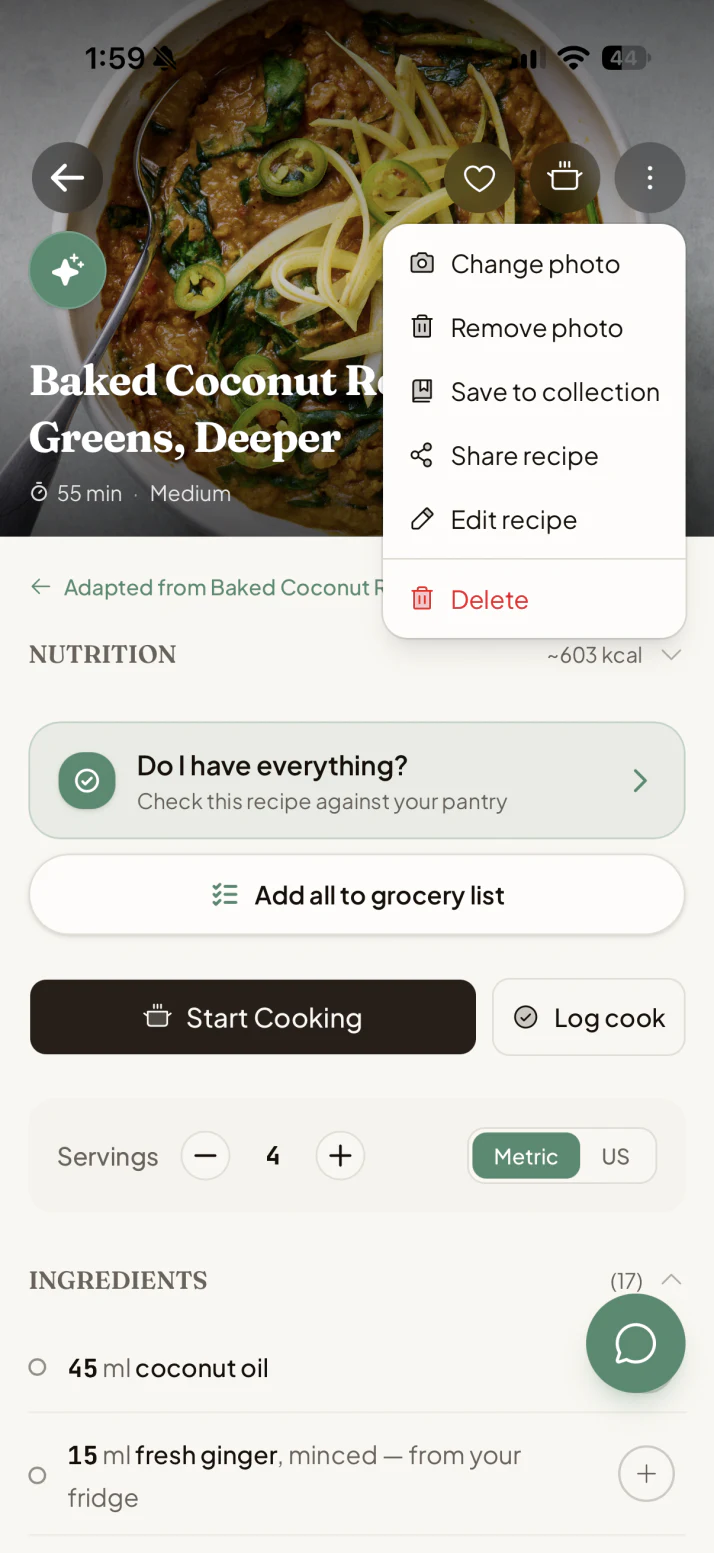
Open any recipe and tap “Do I have everything?” Chive checks the recipe against your pantry, shows what you already have, finds close matches, and lets you add anything missing to your list, scaled to your servings.
Ask “what can I make right now?” for ideas built from what is in your kitchen.
To modify a recipe, tap the chat icon while it is open. Ask for changes like “make it vegetarian,” “make it healthier,” or “use what I already have.” You’ll see progress as Chive writes a revised version, then you can review it and save as a new version, replace the original, or revert.
Tap Start Cooking for step-by-step mode. Swipe between steps and tap a time to start a timer. Tap the chat icon to ask about a step or a technique, or press and hold to ask hands-free.
When you are done, tap Log This Cook. Rate it and save leftovers. Chive marks what you used, updates your pantry, and offers to restock.
Recipes · import

How to import recipes from anywhere.

See a recipe you like? Import it into Chive as a clean, cookable card from a reel, a link, or a cookbook.

From social like Instagram, TikTok, Facebook, or Pinterest, tap Share on the post and choose Chive, or paste the link directly into Chive.
From any website, paste the link and tap Import Recipe.
From text, paste a caption, email, or note and tap Extract Recipe.
From a cookbook, photograph the page, tap Keep page, repeat for more, then tap Done.
New imports land in your Import Inbox first, where you can review them, retry, or save them as recipes.
Chive formats it with scaled ingredients and per-serving nutrition, and keeps the original link so you can re-watch the reel while you cook.
Import from anywhere
Any linkPasted textCookbook photoA screenshot
One clean recipe card
Plan

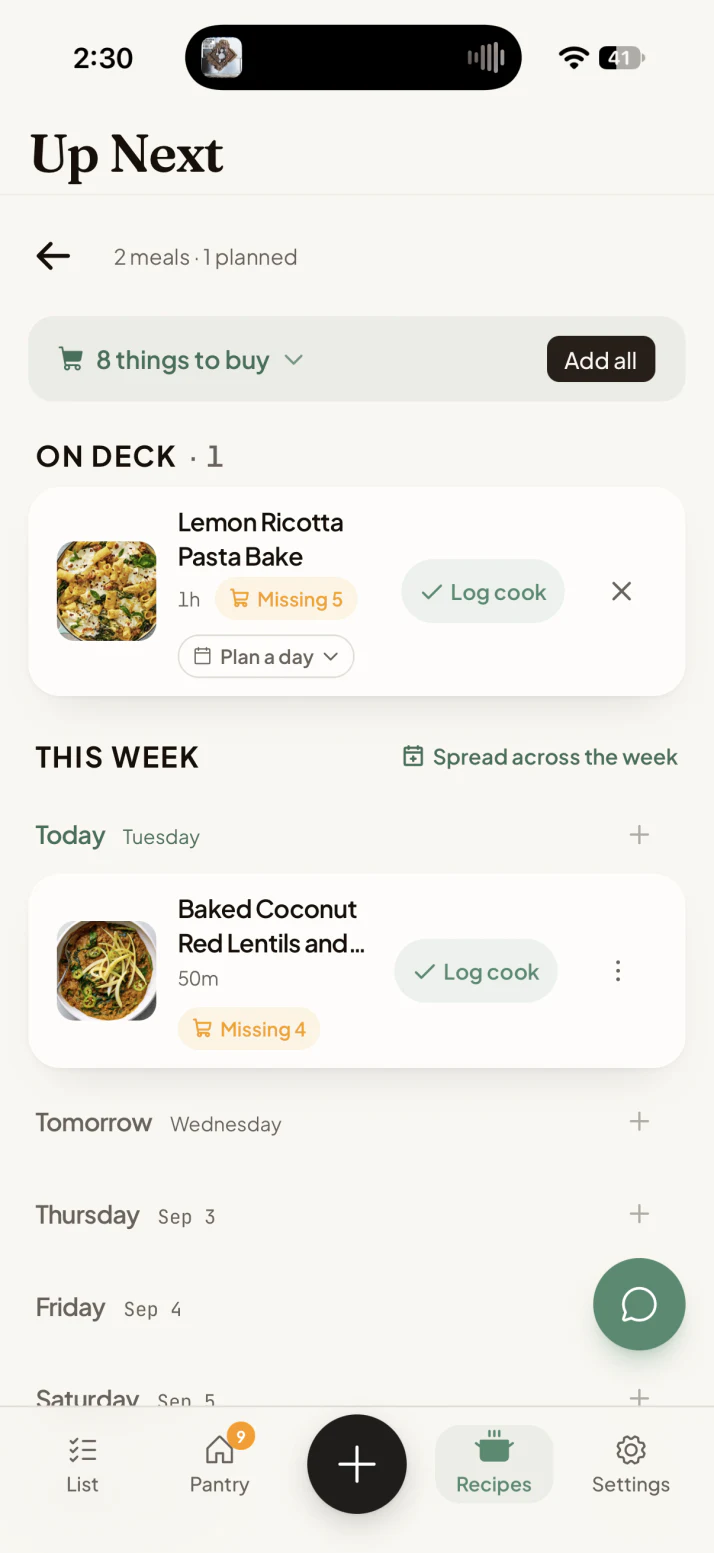
How to plan your week with Up Next.

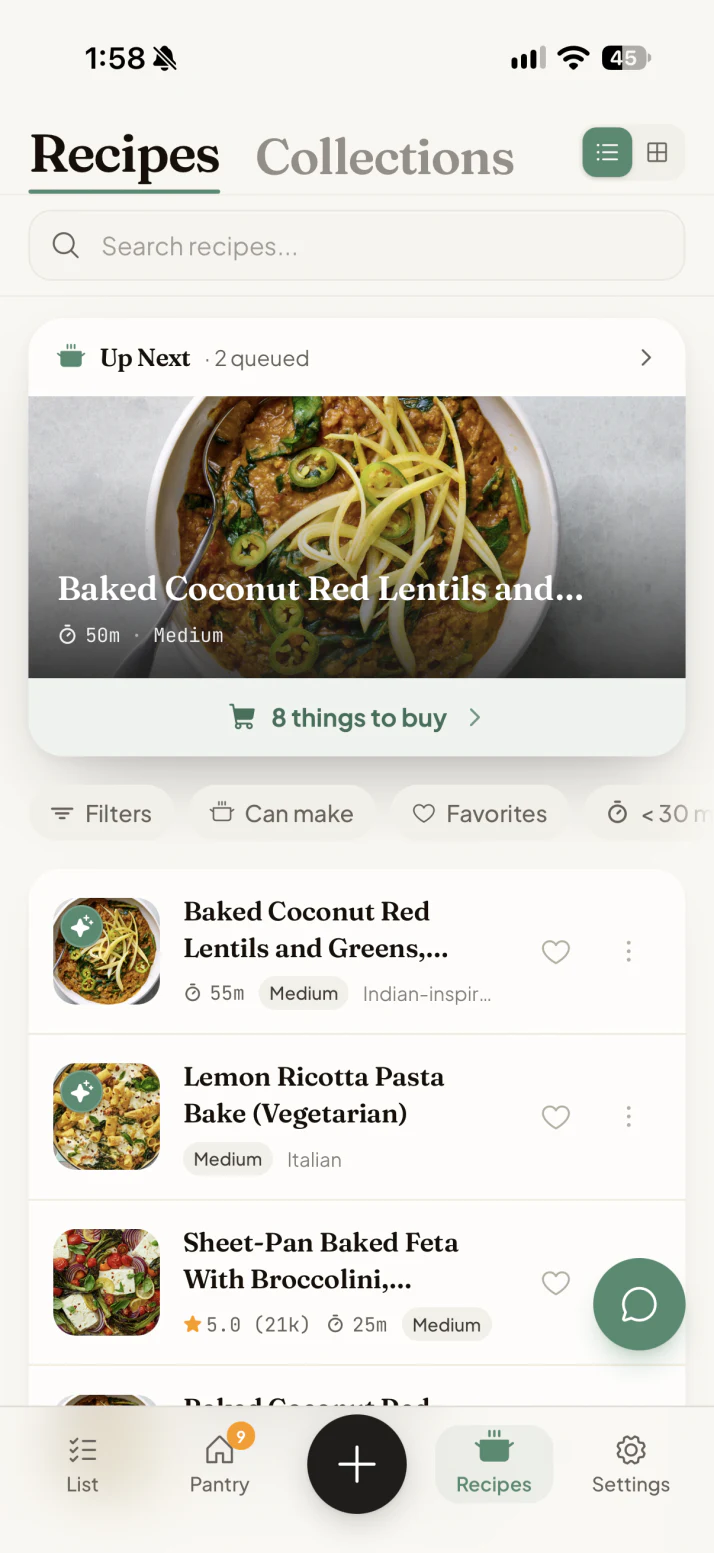
Up Next is your cooking queue, a place to save the recipes you plan to make soon and shop for them all at once.

Add to Up Next. Tap the pot icon on any recipe to queue it.
Keep it as a simple Queue, or switch to a 7-day Week view and assign recipes to specific days.
Press the move button to select a new date for a meal, or to clear it from your schedule.
Tap Add to list to add everything you are missing across your planned meals to your grocery list, with duplicates removed.
Press the cooked button to log your cook. This updates your pantry and removes the recipe from Up Next.
Plan it across the week
Queue up what you’ll cook
Assistant

How to use the assistant.

Chive’s assistant can see your pantry, recipes, and the preferences you choose to share, so it answers questions a general chatbot can’t. It suggests changes and prepares list additions, but it asks before it adds.

Tap the chat bubble to type, or press and hold to talk and tap to send. Chive can also read answers aloud.
Ask it to add ingredients. It dedupes, scales, and aisle-sorts them, and always asks before adding anything to your list.
Ask for a specific dish, like “a shrimp fried rice using what I have,” and Chive builds a full recipe with visible progress while it works.New
Show it a photo. Snap your ingredients or a finished meal and Chive suggests a recipe to match.
Technique help like “how do I get a good sear?”, even hands-free while you cook.
Personalize it in Settings → Chat Personalization, with notes like “we’re vegetarian” or “family of four.”
What can I cook tonight with what I have? Add the ingredients for mushroom risotto to my list. How do I get a good sear on a steak? Help me organize my recipes into collections.
Share

How to share your kitchen.

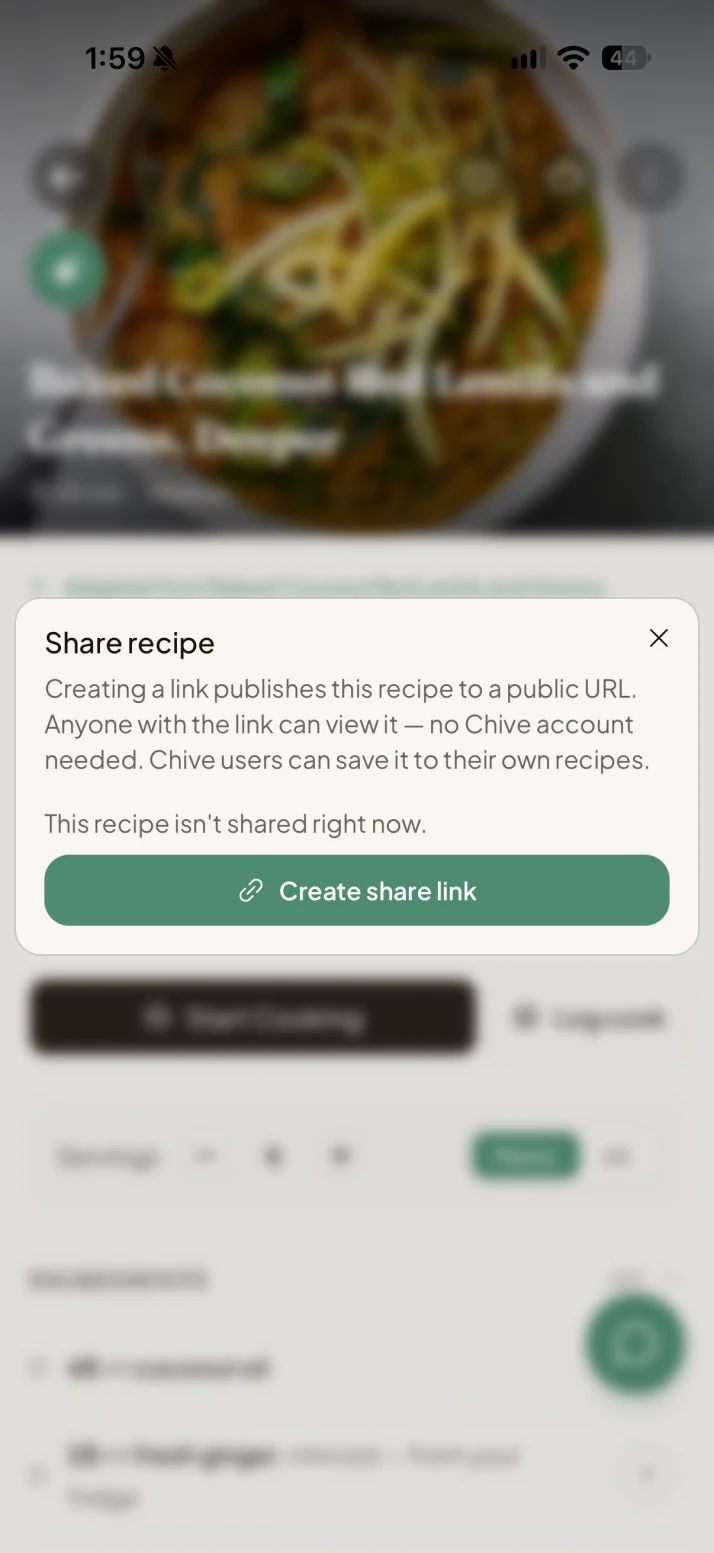
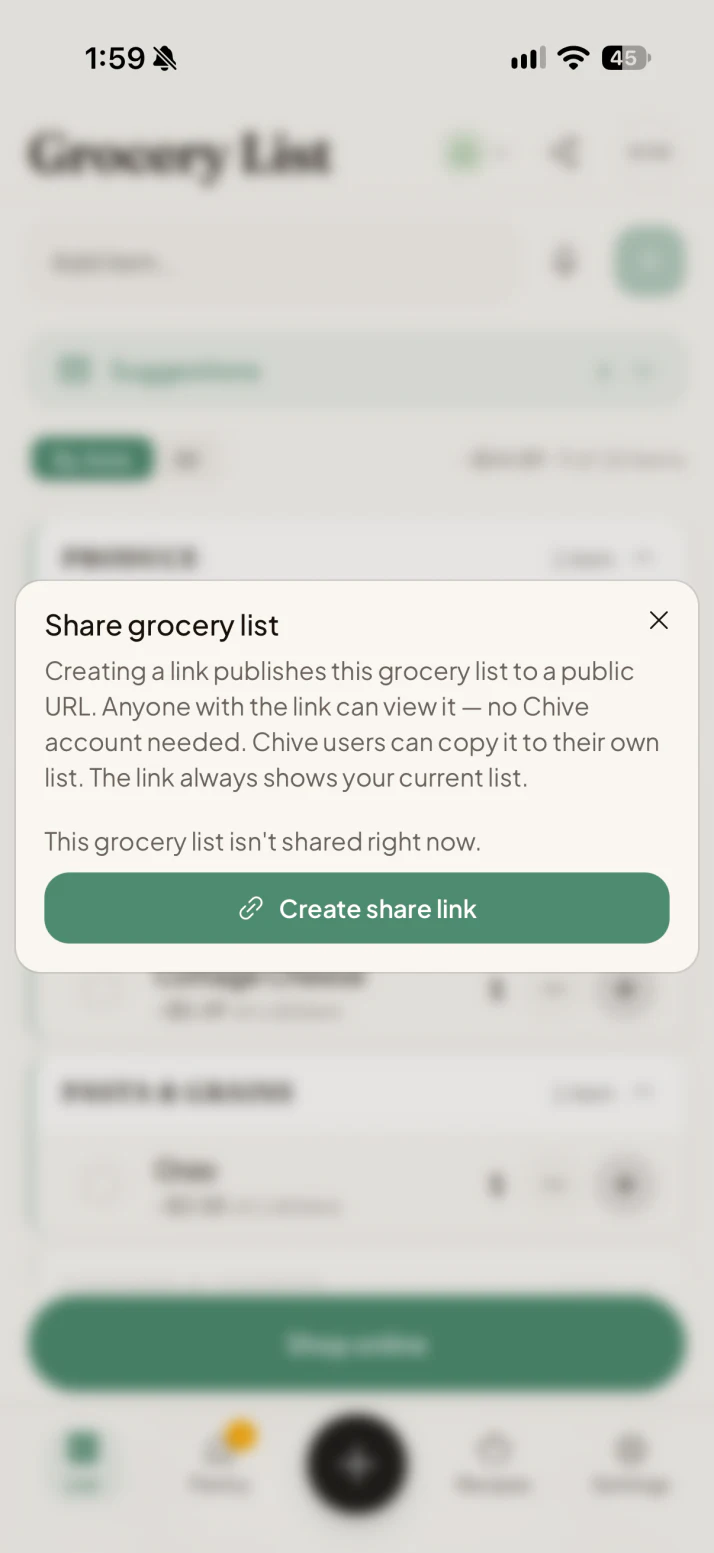
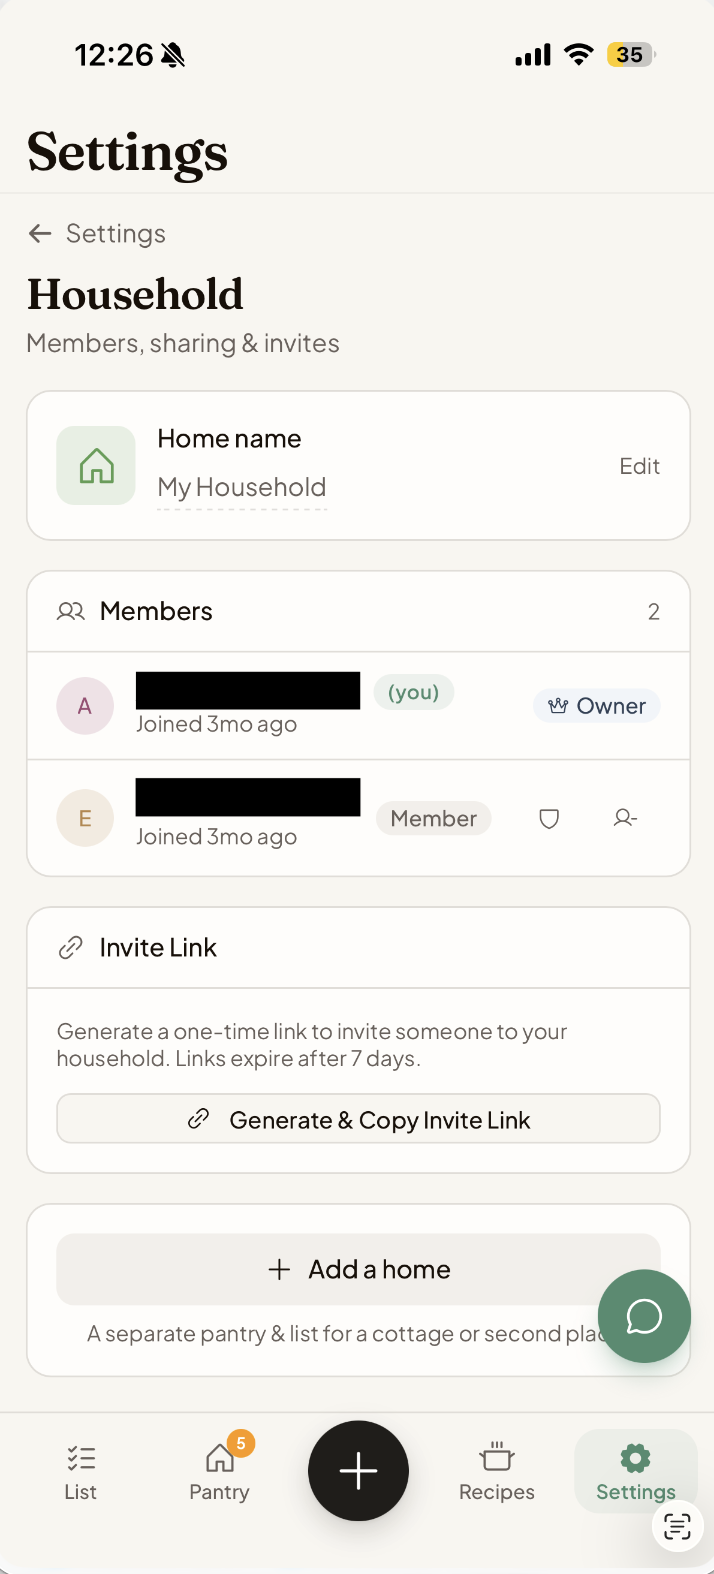
Chive shares your whole kitchen, not just the list. Everyone gets the same pantry, list, and recipes.

In Settings → Household, tap Generate & Copy Invite Link. Each link works once and expires in 7 days.
Everyone shares the same pantry, list, and recipes, live.
Transfer ownership or remove members anytime.
Keep a second kitchen, like a cottage? In Settings → Household, tap Add a home to set up a separate pantry, list, and zones for it (Chive+).
Once you have more than one home, a home switcher appears at the top of the app; tap it to jump between them.
Household members and invite link
Settings

How to make Chive yours.

A handful of settings are worth reviewing first. Start with these.

Notifications. Turn on expiry and low-stock alerts and set how many days of warning you want. These power the Expiring reminders and Weekly Review.
Zones. Create, reorder, recolour, and re-icon your storage spots.
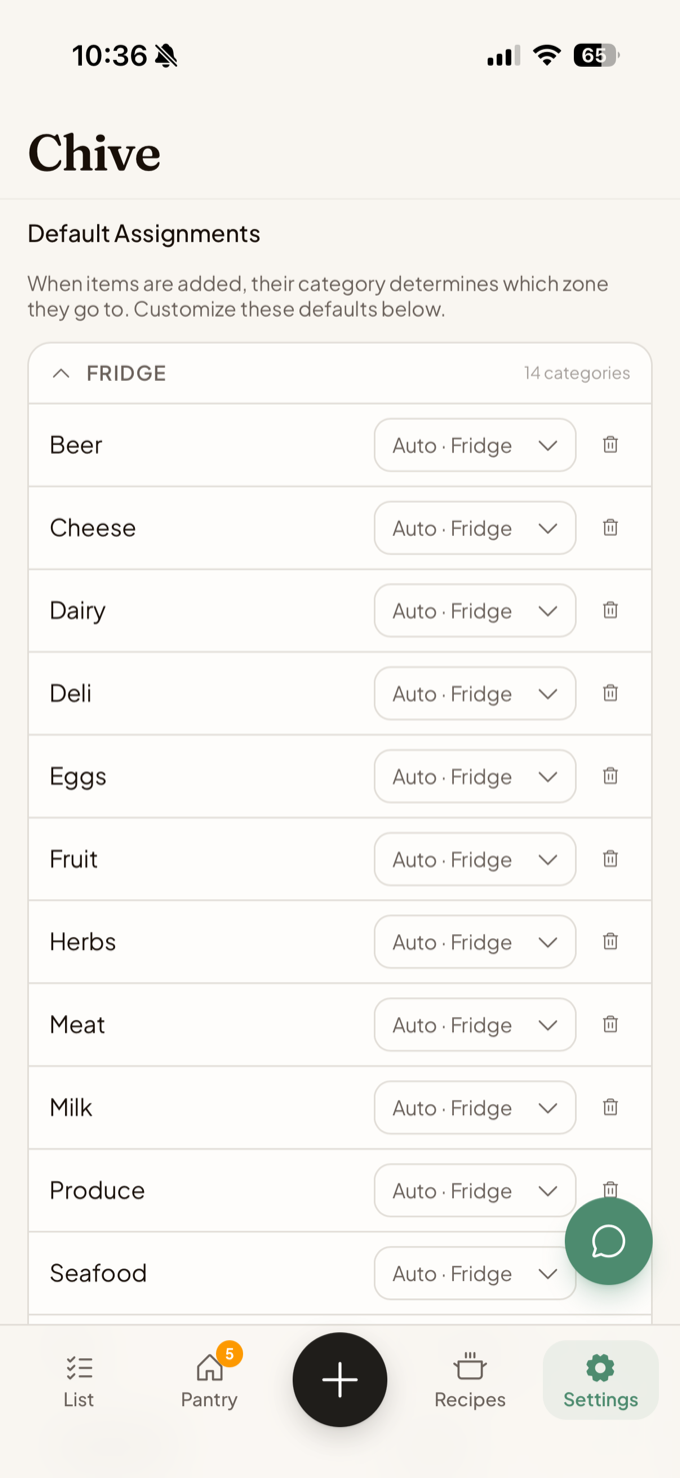
Default assignments. Set which zone each category lands in automatically.
My Stores. Turn on up to five retailers for price estimates. In the US, find your nearest Kroger.
Chat Personalization. Tell the assistant about your household so its answers fit.
AI features (iPhone). Press-and-hold voice replies use on-device dictation by default for speed; switch to the cloud engine here if you’d rather.New
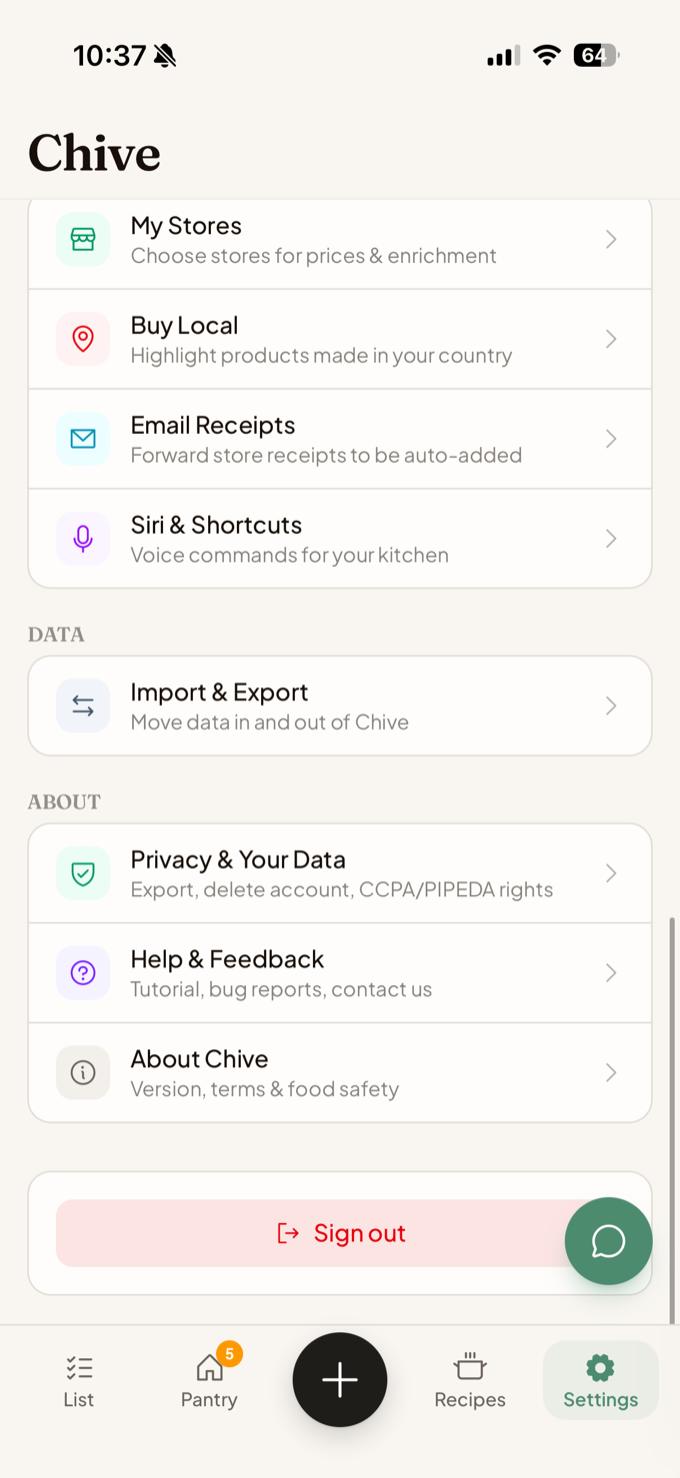
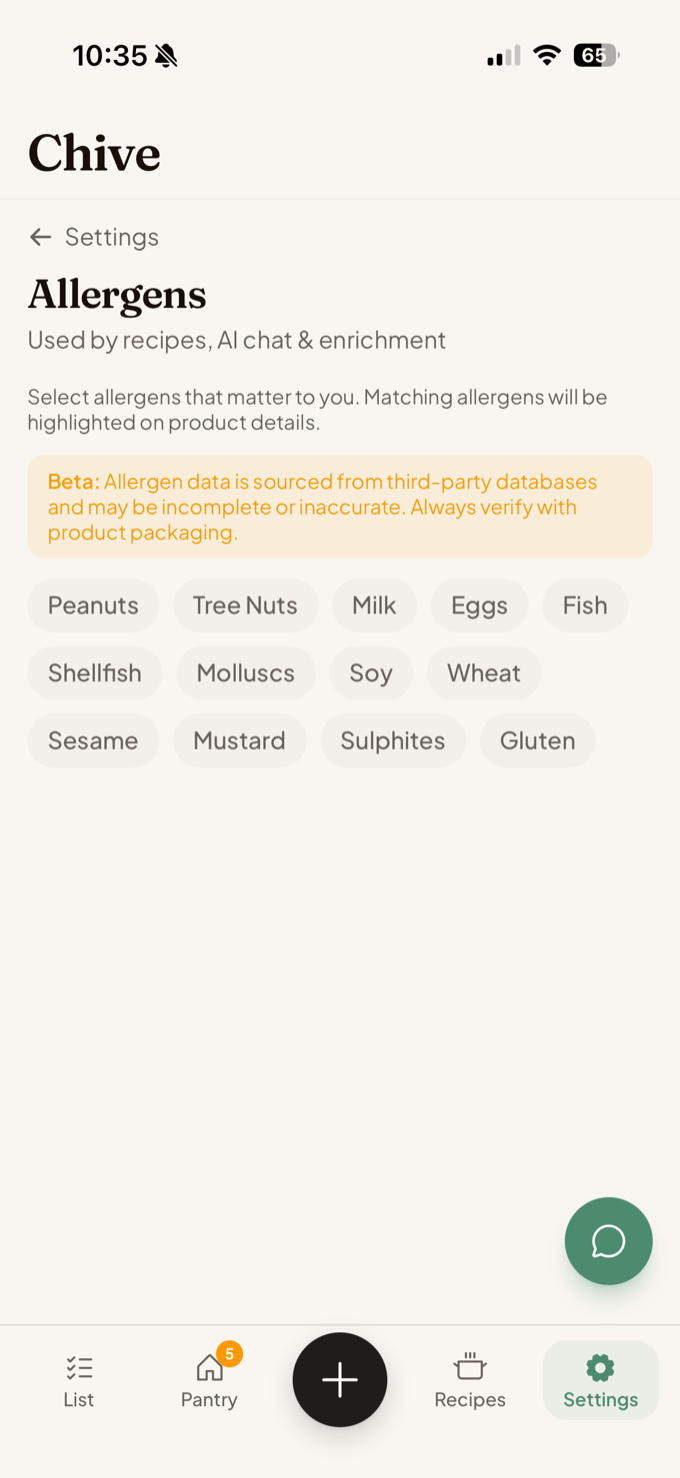
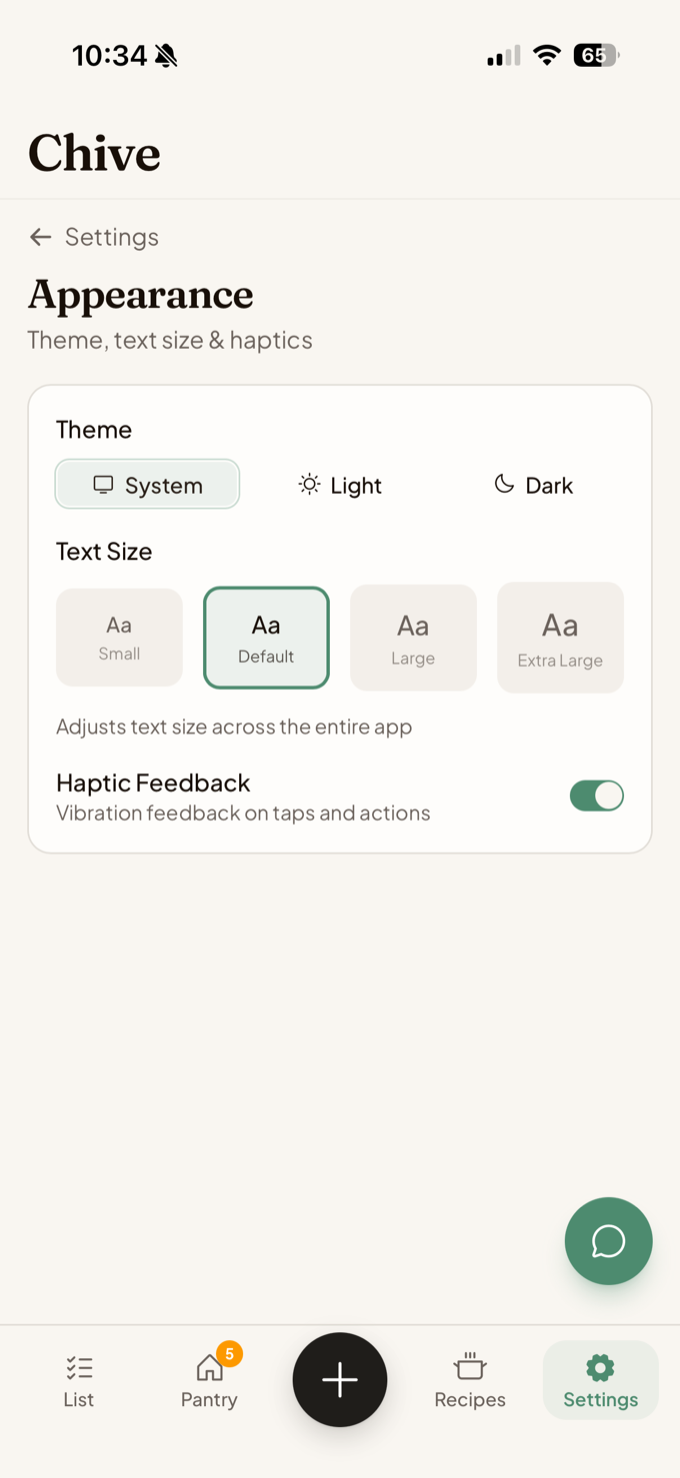
Also here: Allergens & diets (beta), Appearance (light or dark, text size, haptics on iOS), Region & units, and Import / Export for Paprika, Kitchen Pal, or CSV.
Smart placement by category
Everything in one place
Power feature · Chive+

Optional: connect Claude to your pantry.

Already use the Claude Desktop app on your Mac or PC? You can connect it to your Chive kitchen and manage everything by chat: ask what’s expiring, what you can cook tonight, or add things to your list, without leaving Claude. A one-time setup, and entirely optional.

In Chive, open Settings → Connect Claude and tap Download to get the connector file. On your phone? Tap Copy link and open it on your Mac or PC; that’s where Claude Desktop lives.
Install it in Claude Desktop: double-click the file, or Claude Desktop → Settings → Extensions → Install. The one-time “extension can access your computer” warning shows for every connector; Chive’s only talks to the Chive API over HTTPS.
Back in Chive, tap Generate token, copy it (it’s shown once), and paste it into the connector when it asks. Leave the API URL as-is.
Open a Claude Desktop chat and ask about your kitchen: “what’s expiring this week?”, “what can I make for dinner?”, or “add oat milk to my list.”
Claude can read your pantry, list, and recipes, and make quick changes like adding to your list or checking items off, all scoped to this one household, through a token you can revoke anytime.
Requirements: the Claude Desktop app on Mac or Windows (not claude.ai in a browser), and Chive+.
In Claude Desktop
Connected to your pantry
What’s expiring this week?What can I make for dinner?Add oat milk to my list.
Free vs Chive+

What you get on each plan.

Everything you need to run a kitchen is free. Chive+ lifts the monthly limits and adds price comparison, more household members, and multiple homes.

Free
The whole loop: pantry, grocery list, recipes, and barcode scanning.
AI features each month: 10 chats, 7 photo scans, 2 receipt scans, 2 cookbook scans, 3 recipe imports, 5 voice adds.
Up to 75 pantry items, 2 recipe collections, and 2 people in your household.
Plenty for one person keeping a single kitchen in order.
Chive+
No monthly caps on AI chat, scanning, voice, or recipe imports.
Unlimited pantry items and recipe collections, plus full purchase & price history.
Price comparison across your stores, up to 6 household members, and multiple homes.
Comes with a 14-day free trial. Manage or cancel anytime: iOS via the App Store, web via the billing portal.

You can review your usage and upgrade any time in Settings → Plan & Billing. Hitting a limit just shows you the option to upgrade; it never deletes anything.

That’s the loop

Now go make dinner. Chive’s got the rest.

Shop from a list, track what you buy, cook what you have, and let the list refill itself. Each step feeds the next.

Open ChiveBack to top

Instacart® is a registered trademark of Maplebear Inc. d/b/a Instacart. Instacart may not be available in all zip or post codes. See Instacart Terms of Service for more details.